Overview
The article serves as an authoritative step-by-step guide on effectively recording videos in Zoom, addressing crucial elements such as recording options, setup, and post-recording management. It highlights the significance of establishing an optimal recording environment, selecting the right capture method, and managing recorded files. This comprehensive approach ensures that users can effortlessly produce high-quality video content.
Introduction
Mastering the art of video recording on Zoom is not merely an enhancement; it is a transformative skill that elevates virtual meetings into polished presentations. In today’s digital landscape, this capability has become essential. This guide delves into the platform's recording features, offering a comprehensive step-by-step approach that empowers users to capture high-quality videos, whether stored locally or in the cloud. Yet, with a myriad of settings and configurations to navigate, the pressing question remains: how can one ensure that their recordings not only meet professional standards but also resonate meaningfully with their audience?
Understand Zoom's Recording Features
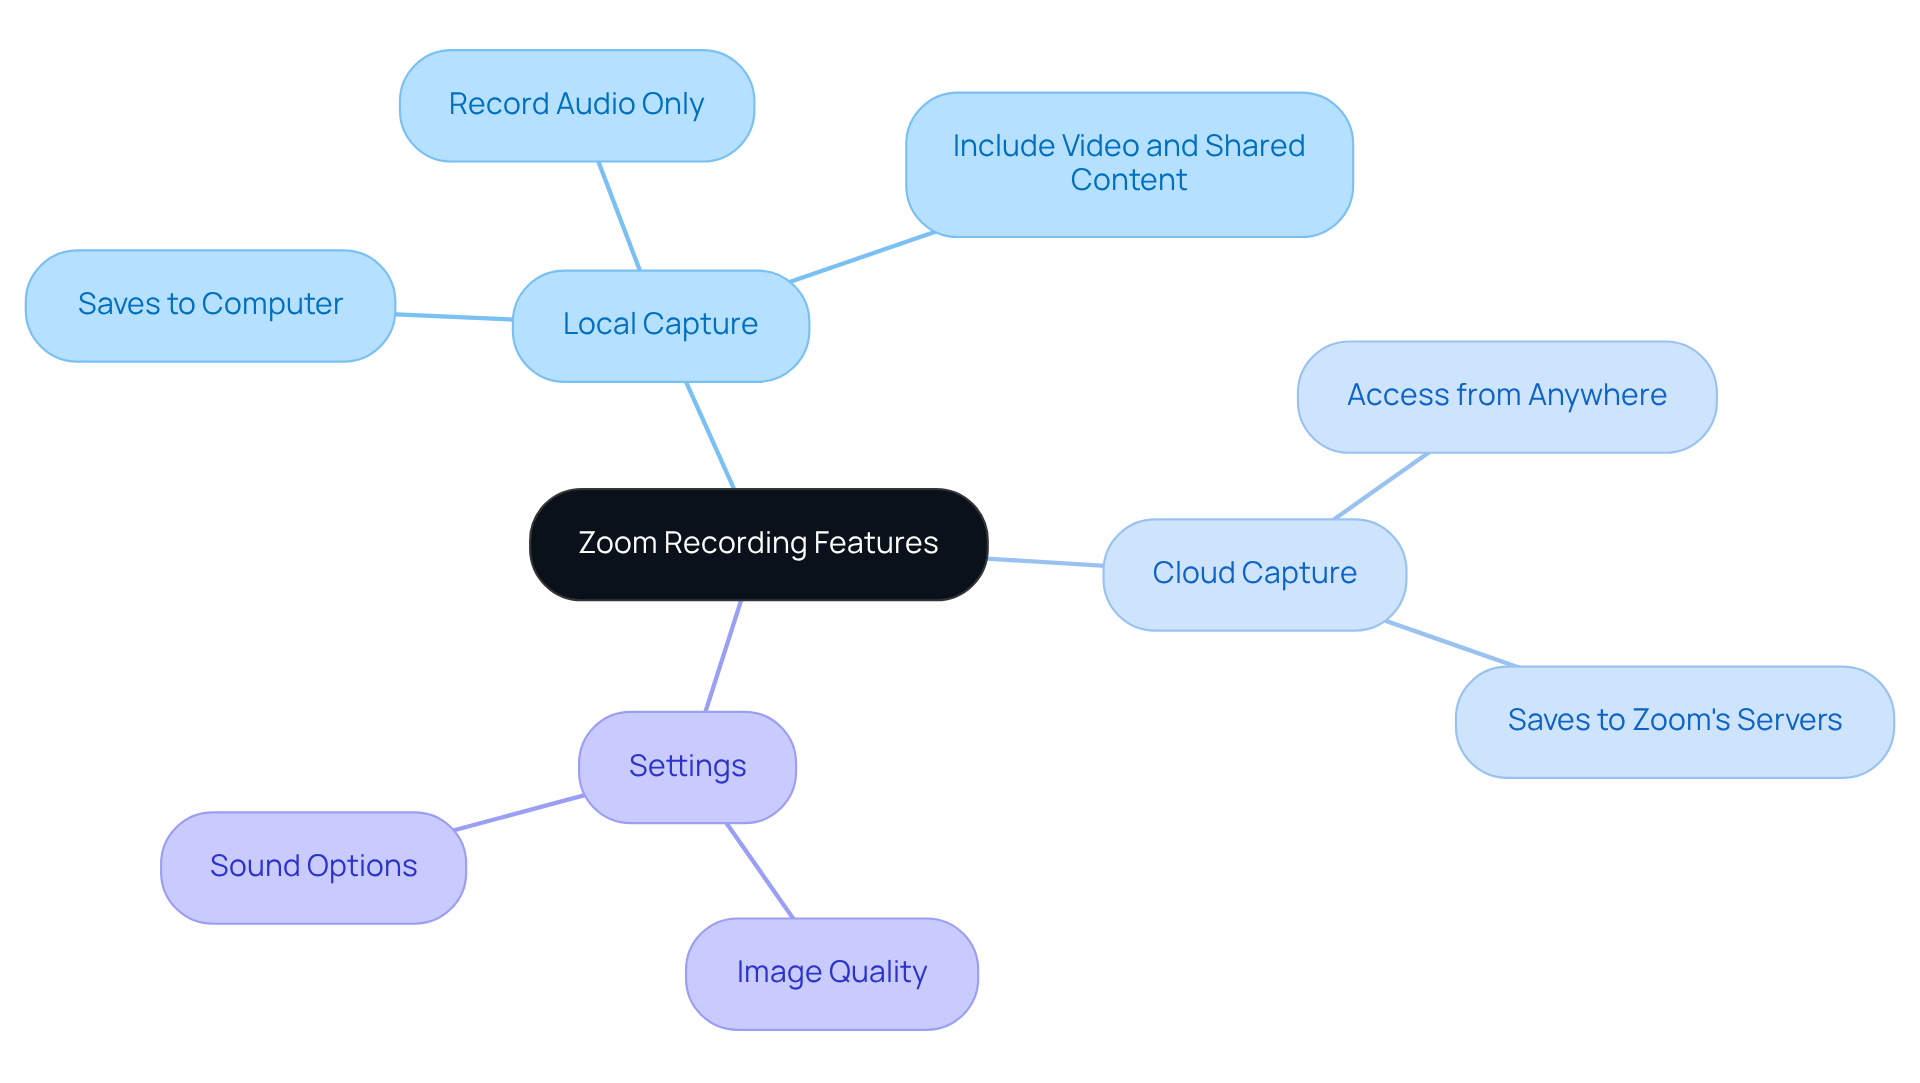
The platform offers two primary options for capturing: Local Capture and Cloud Capture. Local Capture saves film files directly to your computer, while Cloud Capture stores them on Zoom's servers, allowing access from any location. To utilize these features, ensure your account type is Basic or higher, and verify your settings within the Zoom web portal. Familiarize yourself with the capture settings, including image quality and sound options, to optimize your captures. For example, you have the flexibility to:
- Record audio only
- Include video and shared content
Understanding these features will empower you to select the best option for your needs and ensure a seamless capturing process.

Set Up Your Zoom Recording Environment
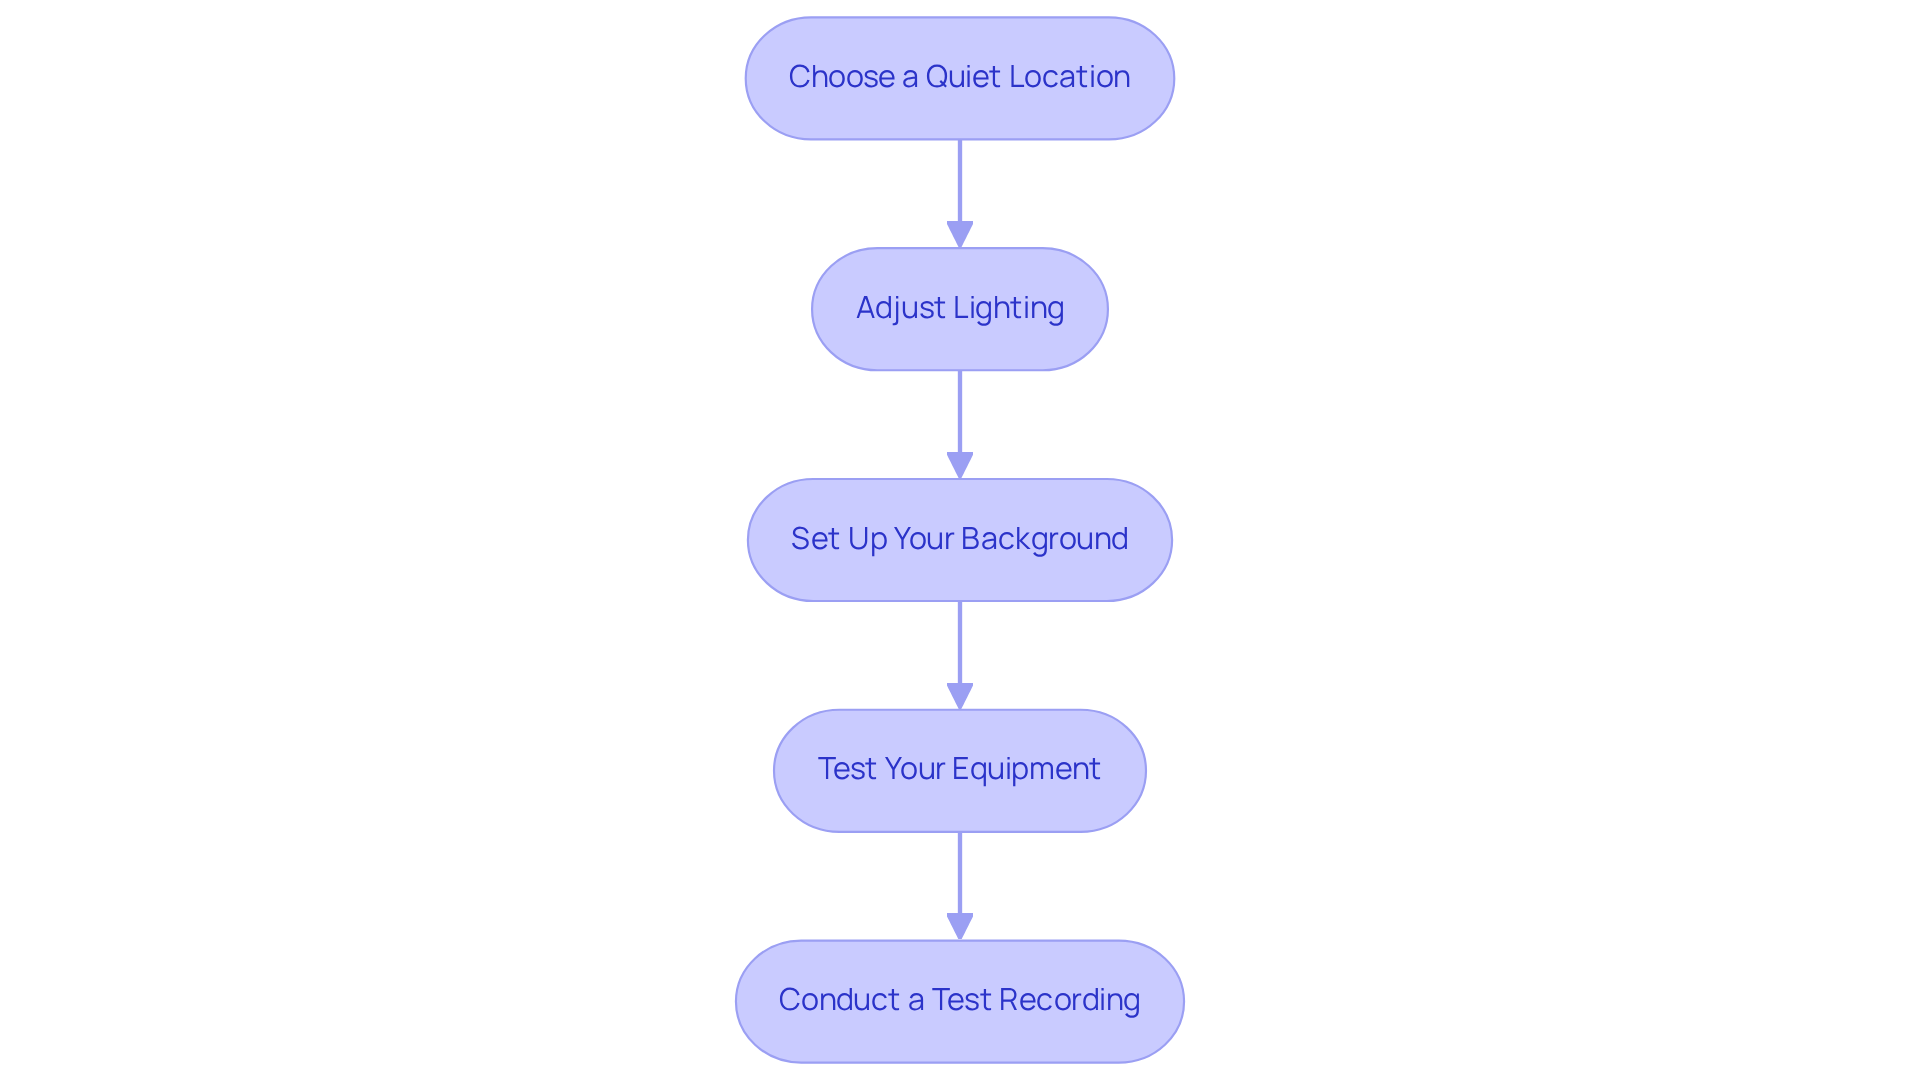
To create an optimal recording environment, implement the following steps:
-
Choose a Quiet Location: Select a space free from background noise and interruptions to ensure clarity in your recordings.
-
Adjust Lighting: Ensure your face is well-lit by utilizing natural light or soft artificial lights. Avoid harsh shadows and backlighting, as these can detract from your presentation.
-
Set Up Your Background: Utilize a clean, uncluttered background that reflects your brand or message. If necessary, consider using a virtual background to maintain professionalism.
-
Test Your Equipment: Prior to starting, check your camera and microphone settings. For enhanced audio quality, use an external microphone when possible.
-
Conduct a Test Recording: Capture a short clip to evaluate audio levels, lighting, and framing. Make necessary adjustments to ensure everything appears and sounds professional.

Record Your Video in Zoom
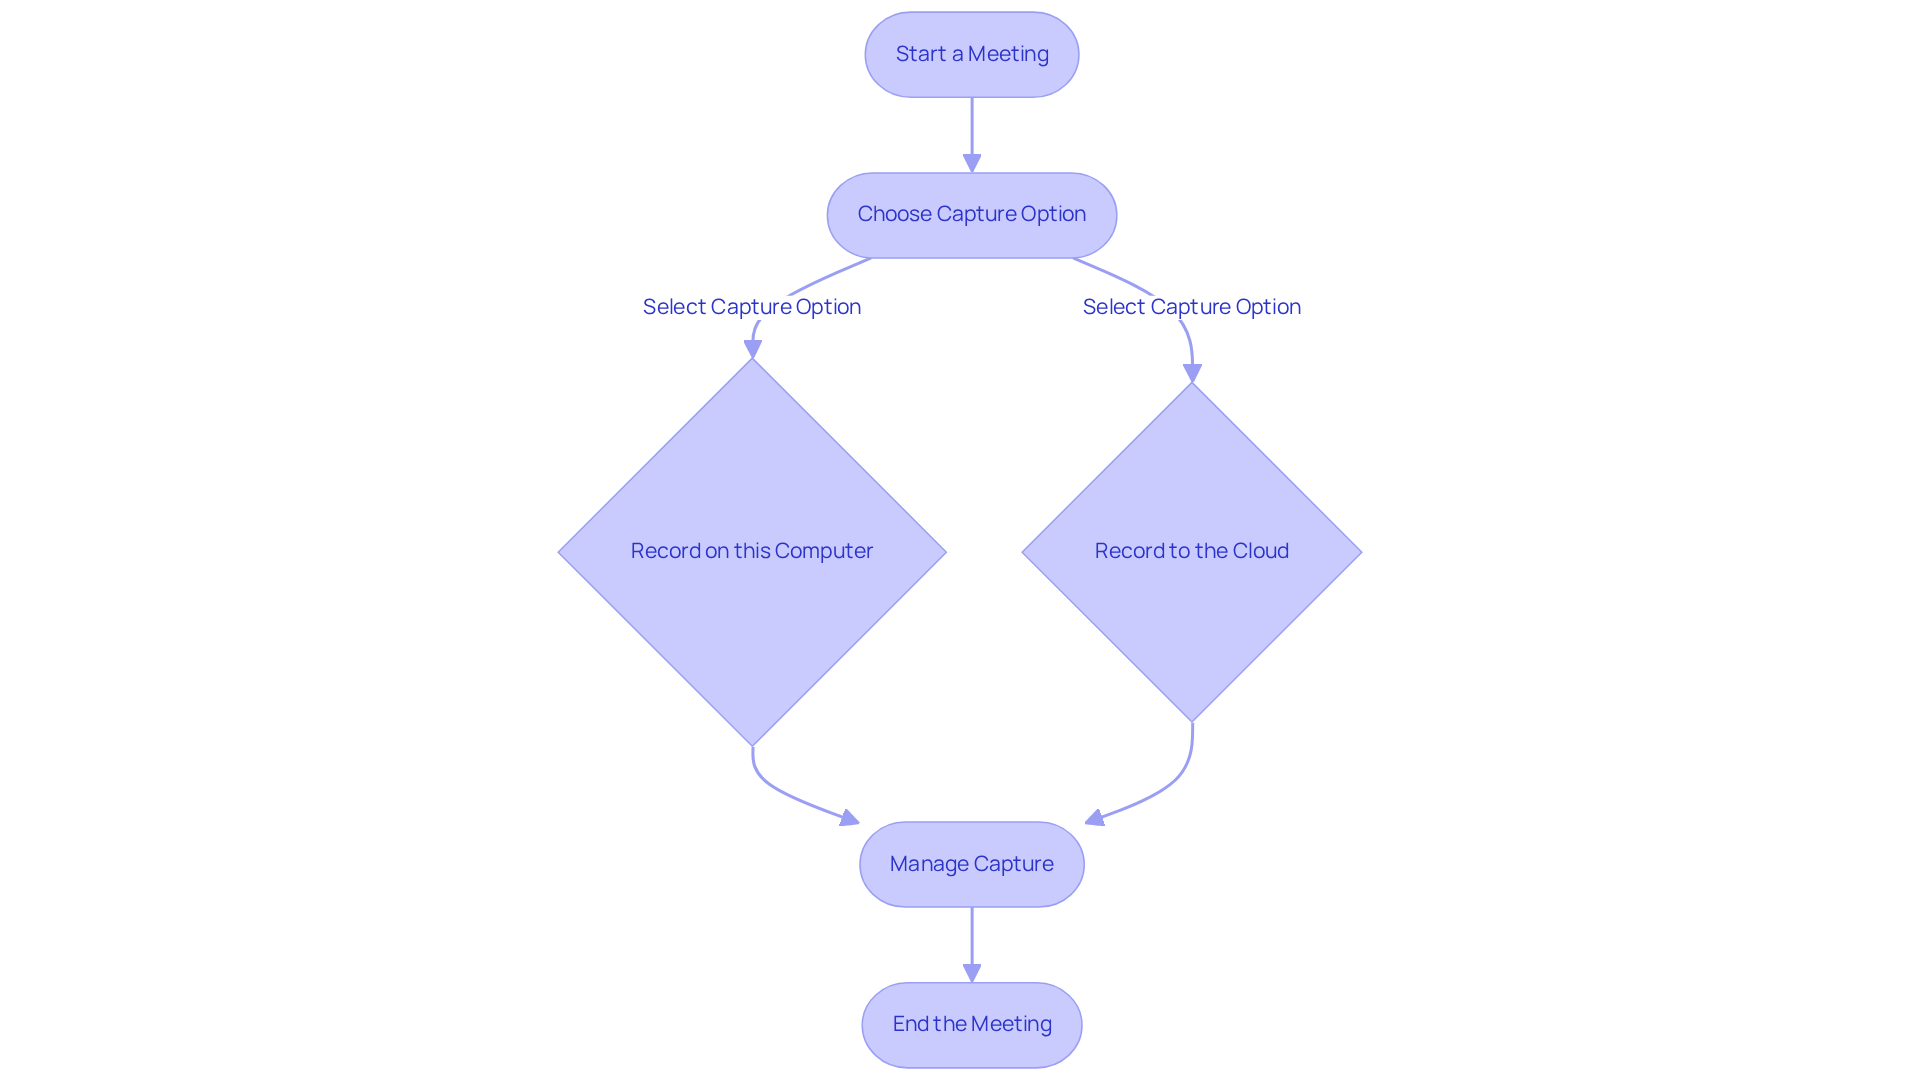
To capture your video in the application, follow these steps:
-
Start a Meeting: Launch the application and click on 'New Meeting' to begin.
-
Choose Capture Option: Click the 'Record' button at the bottom of the Zoom window to understand how to record videos in Zoom. Select either 'Record on this Computer' for local capture or 'Record to the Cloud' for cloud storage.
-
Manage how to record videos in Zoom: During the meeting, you can pause or halt the capture as needed. Use the controls at the bottom of the screen to manage your capture effectively.
-
End the Meeting: Once you finish your presentation, click 'End Meeting'. If you recorded locally, the application will convert the recording and save it to your specified folder. If you saved to the cloud, it will be processed and accessible in your account shortly after the meeting concludes.

Access and Manage Your Recorded Videos
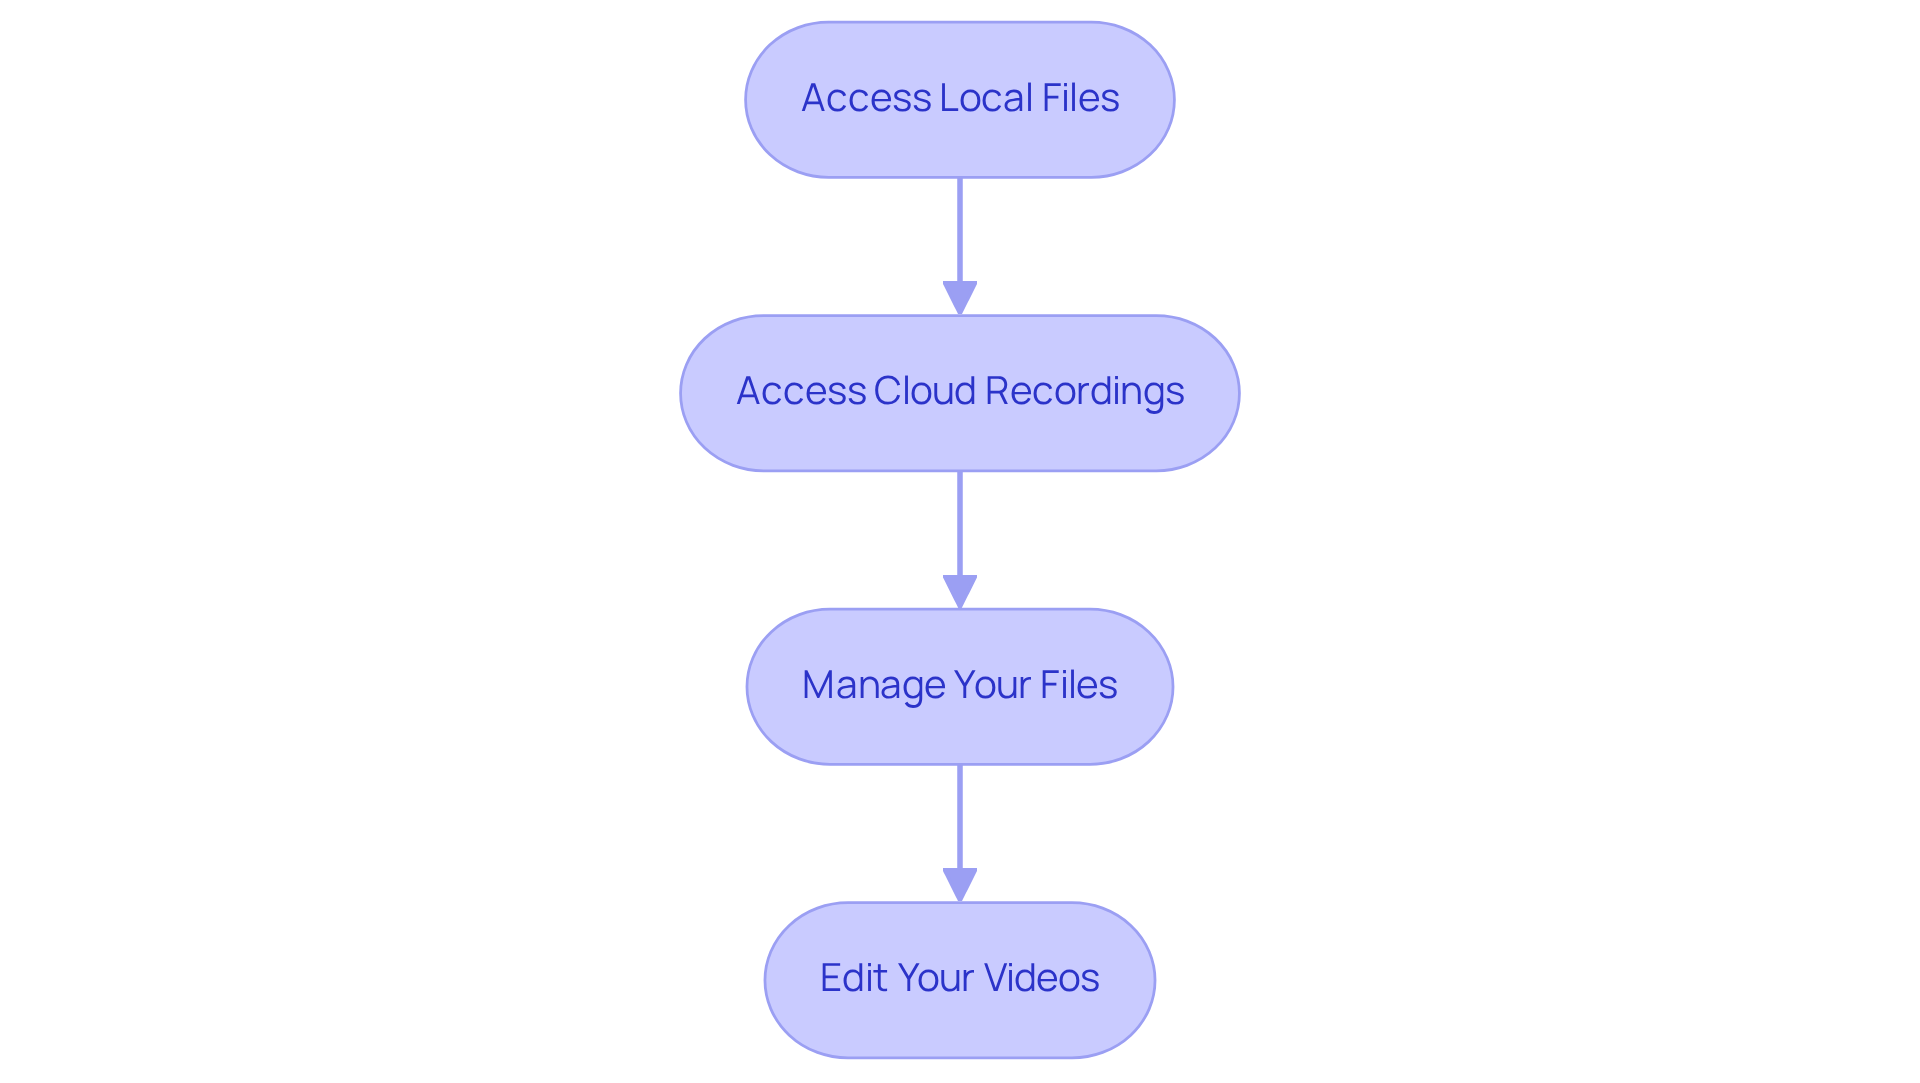
To access and manage your recorded videos effectively, follow these essential steps:
- Access Local Files: Begin by navigating to the folder where your files are stored; the default location is typically 'Documents > Zoom'.
- Access Cloud Recordings: Log in to your Zoom account on the web. From there, go to 'My Account' and select 'Recordings' from the left menu. This section allows you to view all your cloud captures.
- Manage Your Files: You have the ability to rename, download, or remove files as needed. For cloud captures, you can also share links directly with others or modify sharing settings to suit your needs.
- Edit Your Videos: If editing is necessary, consider utilizing video editing software to enhance the content before sharing it on platforms such as YouTube or social media.
By following these steps, you can ensure your recorded videos are well-organized and effectively shared.

Conclusion
Mastering the process of recording videos in Zoom significantly enhances the quality of your virtual presentations and meetings. Understanding the platform's recording features, setting up an optimal recording environment, and following a clear step-by-step process enables users to create professional-grade video content with ease.
Key points discussed include:
- The distinction between Local and Cloud Capture options.
- The importance of a quiet and well-lit recording space.
- The practical steps for initiating and managing recordings.
- Accessing and organizing recorded videos for effective content management, ensuring that your valuable recordings are easily retrievable and shareable.
Ultimately, the ability to record and manage videos in Zoom not only facilitates better communication but also opens up opportunities for sharing knowledge and engaging with audiences. Embracing these techniques empowers users to leverage Zoom's capabilities fully, making every recording session a productive and impactful experience.
Frequently Asked Questions
What are the main recording options available on Zoom?
Zoom offers two primary recording options: Local Capture, which saves files directly to your computer, and Cloud Capture, which stores recordings on Zoom's servers for access from any location.
What account type is required to use Zoom's recording features?
To utilize Zoom's recording features, you need to have a Basic account or higher.
How can I access and manage my recording settings on Zoom?
You can access and manage your recording settings by verifying your settings within the Zoom web portal.
What settings should I familiarize myself with for optimal recording?
You should familiarize yourself with capture settings, including image quality and sound options, to optimize your recordings.
What recording options are available for audio and video?
You have the flexibility to record audio only, or to include video and shared content in your recordings.
.png?width=250&height=153&name=CSI-OverskiesRebrand_LOGO-01(smaller).png)

.png?width=100&height=61&name=CSI-OverskiesRebrand_LOGO-01(smaller).png)


.png?width=88&name=CSI-OverskiesRebrand_LOGO-01(smaller).png)


