

Introduction
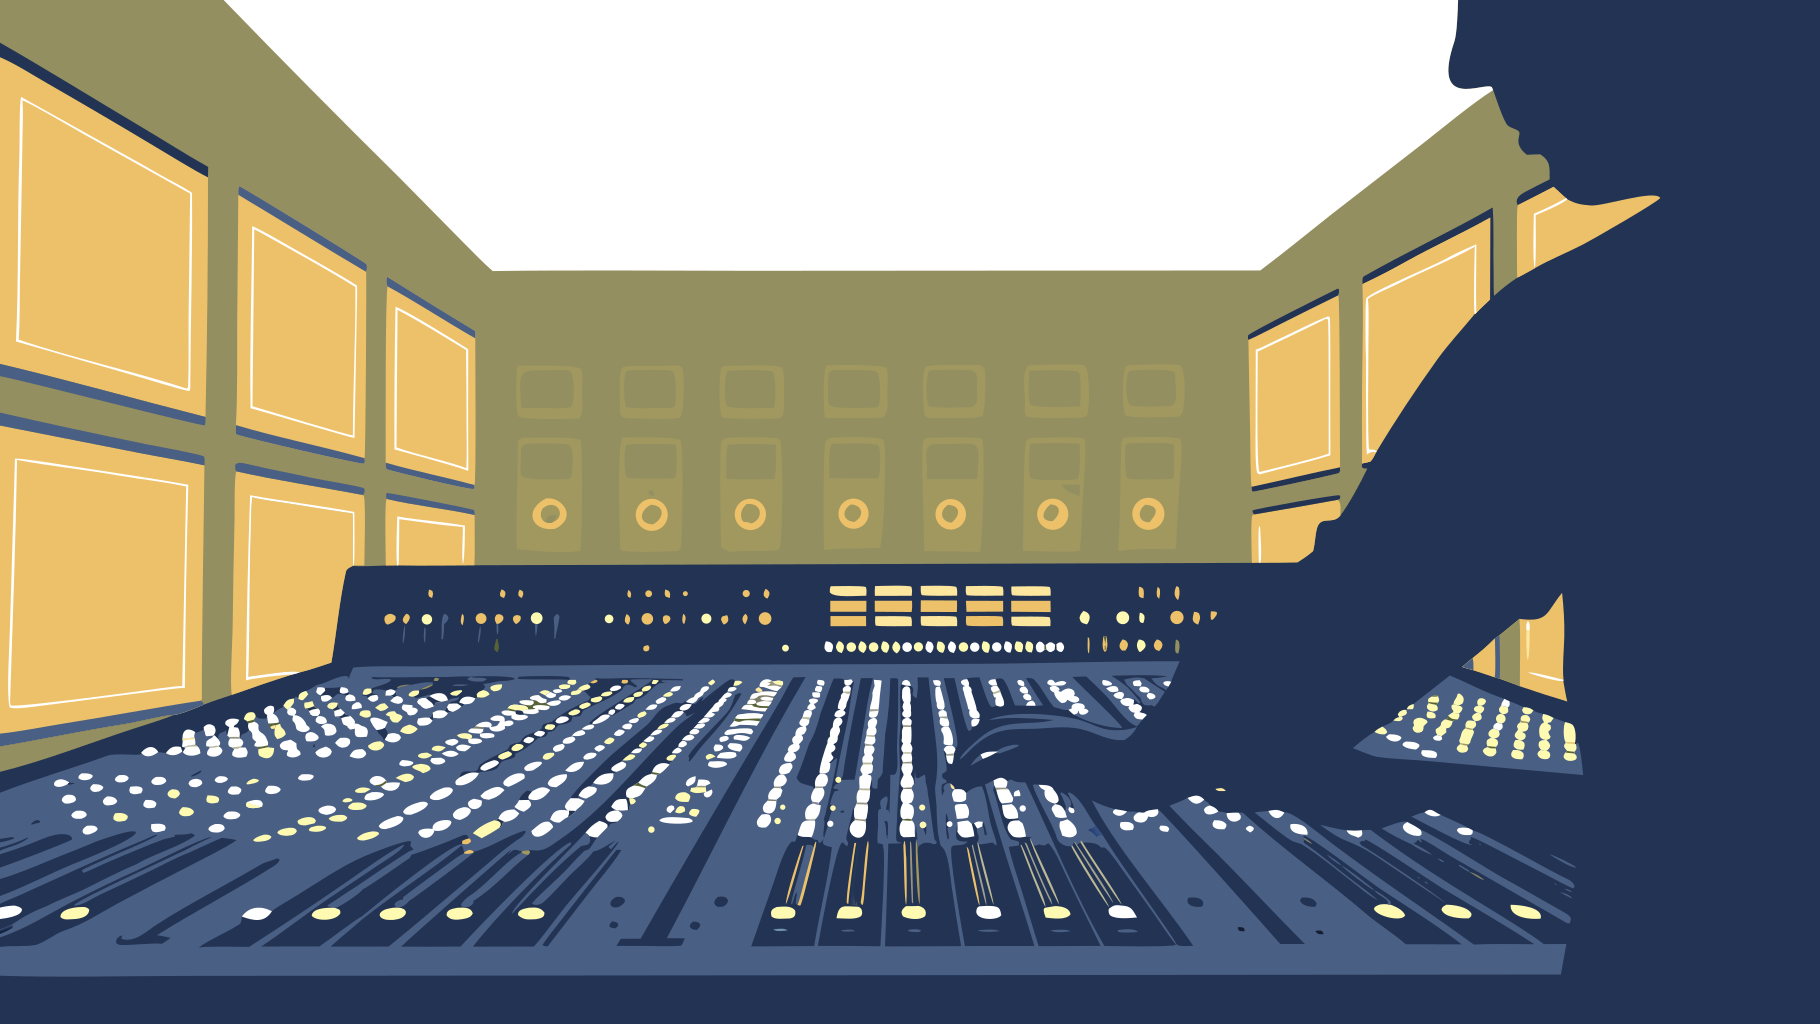
Crafting a compelling audio landscape is not just important; it's essential in video production. Sound can truly make or break the viewer's experience. Understanding the nuances of audio mixing enhances engagement and elevates the overall quality of any project. Yet, many filmmakers struggle to achieve the optimal balance between dialogue, music, and sound effects. This often leads to distracting inconsistencies that can detract from the viewer's enjoyment.
So, what are the best practices that can transform a mediocre audio mix into a captivating auditory experience? Let's explore the strategies that can elevate your audio game.
Check Audio Levels for Balance
To achieve a well-balanced sound mix, begin by meticulously observing the levels of each track using a digital workstation or editing software. A well-mixed video, achieved through mixing audio video, enhances the viewer's experience by keeping them engaged without the distraction of sound imbalances. Consistency is key; ensure that dialogue, music, and audio effects work in harmony rather than compete for attention.
Utilize sound meters to visualize readings effectively, aiming for:
- Dialogue levels around -12dB to -6dB
- Background music at -18dB to -12dB
- Sound effects between -10dB and -20dB
Regularly monitor these measurements during playback to identify discrepancies and make necessary adjustments. Remember, the final mix typically requires 4-7 days, especially if clients request modifications. Testing the final mix on various devices is crucial to ensure sound translates effectively across different systems. This diligence in mixing audio video leads to a refined final product that significantly enhances viewer engagement.

Identify Optimal Audio Levels for Video
Setting ideal sound settings is crucial for enhancing the viewer's experience when mixing audio video in video production. For dialogue-heavy content, aim for sound levels between -18dB and -9dB. This range ensures clarity without distortion, allowing the audience to fully engage with the material. Background music should be set lower, typically around -18dB to -22dB, which keeps the dialogue as the focal point. Sound effects, on the other hand, should be strategically placed, peaking between -10dB and -20dB, depending on their significance within the scene.
Consistently monitoring sound meters during the editing process is essential to maintain uniformity and prevent distracting variations. Studies indicate that recordings with clear sound significantly enhance viewer retention, underscoring the necessity of prioritizing sound quality. Industry experts have observed that clarity in conversation is vital; audiences are more likely to disengage from material with subpar sound quality.
By adhering to these guidelines, creators can produce polished video projects that effectively engage their audience through mixing audio video. Prioritize sound settings to elevate your production quality and keep your viewers captivated.

Remove Echo for Clear Sound
To effectively eliminate echo from your sound, start by recording in spaces with minimal reflective surfaces. If echo persists in your recordings, leverage sound editing software to apply noise reduction. For example, in Adobe Premiere Pro, the 'DeReverb' effect can significantly reduce echo.
Furthermore, consider incorporating recording space, such as sound-absorbing panels or blankets, to minimize echo during the recording phase. After making adjustments, always listen critically to the recording to ensure clarity and quality.

Utilize Premiere Pro Tools for Audio Enhancement
Adobe Premiere Pro provides an impressive array of tools designed to significantly enhance sound quality. At the forefront is the 'Essential Sound' panel, a pivotal feature that enables users to categorize clips into dialogue, music, sound effects, and ambience, thereby streamlining the mixing process. By leveraging presets tailored for each category, editors can easily adjust settings, apply compression, and enhance clarity with minimal effort. For instance, the Vocal Enhancer adeptly boosts voice recordings based on their tone, while the Loudness tab ensures consistent sound levels across clips. Furthermore, the Auto Tag tool simplifies the classification process, allowing for quicker organization of clips.
In addition to the Essential Sound panel, tools like the 'Multiband Compressor' and 'Parametric Equalizer' play a vital role in balancing frequencies and fine-tuning sound characteristics. These features empower editors to achieve refined audio quality that resonates with audiences. Notably, film projects utilizing these auditory tools have reported significant improvements in overall sound quality, leading to increased viewer engagement.
Regular experimentation with these tools is highly encouraged, as it facilitates the discovery of optimal settings tailored to specific projects. On average, video editors dedicate several hours to sound editing, underscoring the necessity of mastering these tools to streamline workflows and elevate the final product. Industry professionals emphasize that the evolution of Premiere Pro's audio capabilities allows editors to depend on this platform for comprehensive sound editing, eliminating the need to switch to external software. However, it is essential to remain mindful of potential challenges, such as the time-consuming nature of repairing dialogue, which can detract from the overall editing process.

Conclusion
Achieving high-quality audio in video production is not just important; it’s essential for captivating your audience and ensuring your message hits home. By focusing on proven practices - like checking audio levels, eliminating echo, and harnessing advanced tools in software such as Adobe Premiere Pro - you can significantly elevate the sound quality of your projects. These elements work together to craft a balanced and immersive experience that keeps viewers engaged.
Key insights underscore the necessity of maintaining consistent audio levels across dialogue, music, and sound effects, along with the critical need to eliminate unwanted echo for clarity. Techniques such as using sound meters for monitoring levels and implementing acoustic treatments during recording are vital steps in this process. Furthermore, leveraging the powerful features available in Premiere Pro can streamline your audio editing, leading to a more polished final product.
Ultimately, prioritizing sound quality not only enhances the production value of your videos but also fosters a deeper connection with your audience. By adopting these best practices and continuously refining your audio mixing techniques, you can ensure your work resonates with viewers and stands out in a competitive landscape. Investing time to master these audio principles is not just beneficial; it’s a strategic move that pays off in viewer retention and overall impact.
Frequently Asked Questions
What is the importance of checking audio levels in a sound mix?
Checking audio levels is crucial for achieving a well-balanced sound mix, which enhances the viewer's experience by preventing distractions caused by sound imbalances.
What are the recommended audio level ranges for different audio components?
The recommended audio level ranges are:
- Dialogue levels around -12dB to -6dB
- Background music at -18dB to -12dB
- Sound effects between -10dB and -20dB
How should audio levels be monitored during the mixing process?
Audio levels should be monitored using sound meters to visualize readings effectively, and adjustments should be made as necessary during playback to identify discrepancies.
How long does it typically take to finalize a sound mix?
The final mix typically requires 4-7 days, especially if clients request modifications.
Why is it important to test the final mix on various devices?
Testing the final mix on various devices is crucial to ensure that the sound translates effectively across different systems, leading to a refined final product that enhances viewer engagement.
List of Sources
- Check Audio Levels for Balance
- lesfm.net (https://lesfm.net/blog/video-production-best-practices)
- mixingmonster.com (https://mixingmonster.com/post-production)
- epidemicsound.com (https://epidemicsound.com/blog/audio-mixing-for-video)
- premiumbeat.com (https://premiumbeat.com/blog/how-to-set-audio-levels-for-video)
- Identify Optimal Audio Levels for Video
- epidemicsound.com (https://epidemicsound.com/blog/audio-mixing-for-video)
- 4kshooters.net (https://4kshooters.net/2015/08/17/what-are-the-optimal-audio-levels-for-your-video-production)
- wevideo.com (https://wevideo.com/blog/how-to-set-audio-levels)
- tempolor.com (https://tempolor.com/blog/audio-levels)
- premiumbeat.com (https://premiumbeat.com/blog/how-to-set-audio-levels-for-video)
- Utilize Premiere Pro Tools for Audio Enhancement
- redsharknews.com (https://redsharknews.com/how-to-use-the-essential-sound-panel-in-adobe-premiere-pro)
- helpx.adobe.com (https://helpx.adobe.com/premiere/desktop/add-audio-effects/adjust-volume-and-levels/audio-editing-with-essential-sound-panel.html)
- provideocoalition.com (https://provideocoalition.com/new-ai-and-masking-tools-in-premiere-plus-major-upgrade-to-after-effects)
- cgw.com (https://cgw.com/Press-Center/News/2026/Adobe-announes-new-AI-powered-video-editing-tool.aspx)
- news.adobe.com (https://news.adobe.com/news/2025/04/new-ai-innovation-in-industry)


